
A kitchen timer earns its place when you can read it from the stove, hear it from the next room and start the next countdown without hunting for a manual. This white model lists a 5.6 x 3cm screen, a 99 minute 59 second range, count-up and countdown modes, a setting memory, a magnetic back, a fold-out stand and a hook, with a battery included. The listing does not state the battery type, the alarm volume in decibels or water resistance, so treat those as details to confirm.
1. Explain count-up and countdown use cases
Countdown is the familiar mode: set 12 minutes for pasta, press start, and the alarm sounds at zero. Count-up works in the other direction, starting at zero and adding time until you stop it. That is useful for proving dough, resting meat, timing a stock reduction or tracking how long something has been in the oven without a fixed end point.
The listing also describes a setting memory, which recalls the last time you set. If you boil eggs at the same duration every morning, memory saves a few button presses. Check how the memory behaves when you switch between modes, because some timers store one value per mode and others store only the most recent entry.
The maximum is 99 minutes 59 seconds. That covers most cooking tasks, but it is not a 12-hour timer. For slow roasts, overnight proofing or a long braise, use a phone alarm or a timer with a longer range.
Holding a button for more than three seconds is described as fast-forwarding the time. That is helpful when setting 45 minutes, but it can also overshoot. Release the button and adjust one step at a time if you pass the target.
2. Check the alarm and display claims
The listing calls the alarm loud and the screen large, with bold digits on a 5.6 x 3cm display. Those are useful starting points, but loud is a seller description, not a measured sound level. The listing gives no decibel figure, so you cannot compare it with a dishwasher, a range hood or a noisy household.
Test the alarm as soon as the battery is in. Stand where you normally cook, then step into the next room and close the door. If you cannot hear it, the timer is not right for your kitchen, no matter how large the digits are. Some timers beep for a few seconds and then stop; check whether the alarm repeats.
Look at the display from an angle and in bright light. A large screen helps, but contrast and viewing angle matter more than size. The listing does not mention a backlight, so do not assume the display glows in a dim kitchen.
Steam and splashes are the enemy of any bench timer. The listing does not state a water-resistance rating, so keep it away from the sink, the open dishwasher and the steam above a boiling pot. Wipe it with a damp cloth rather than rinsing it under the tap.
3. Consider magnetic placement in a kitchen
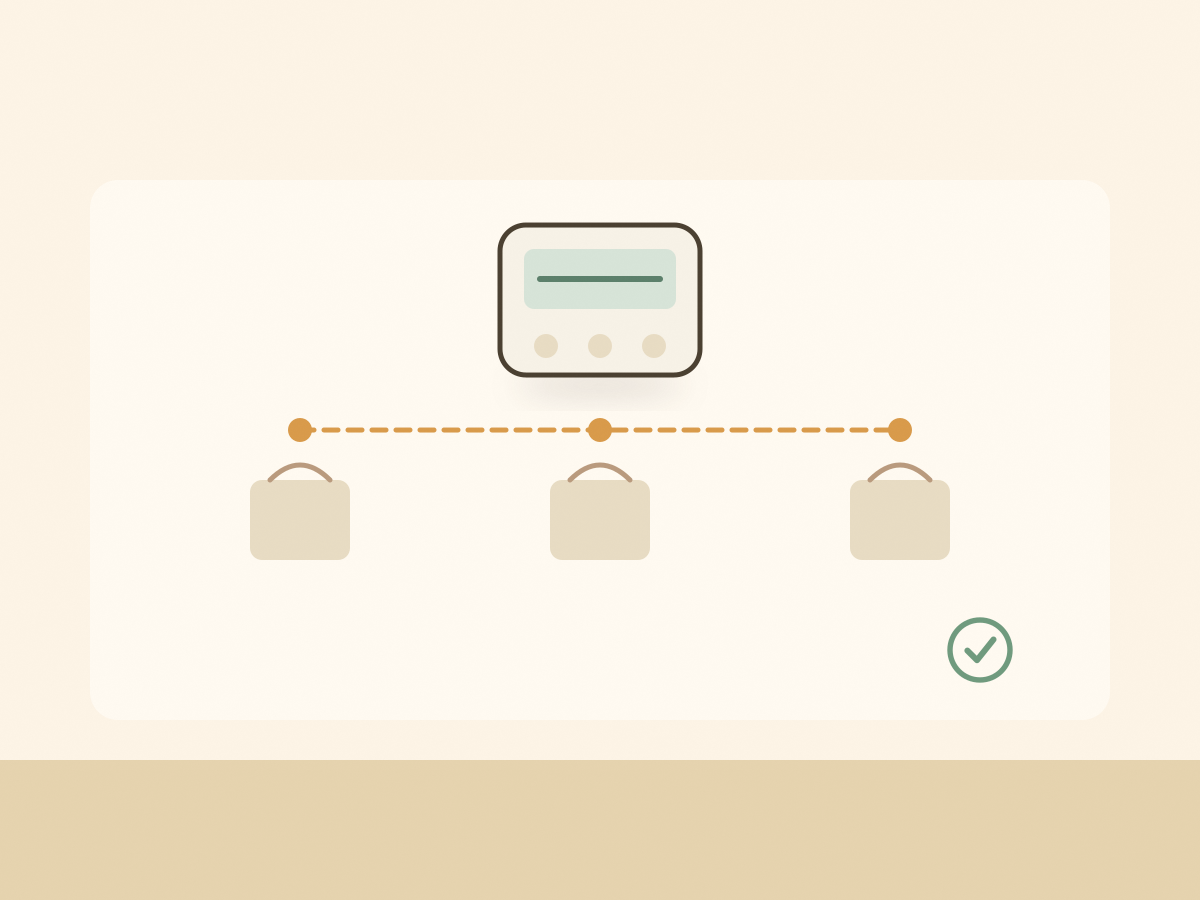
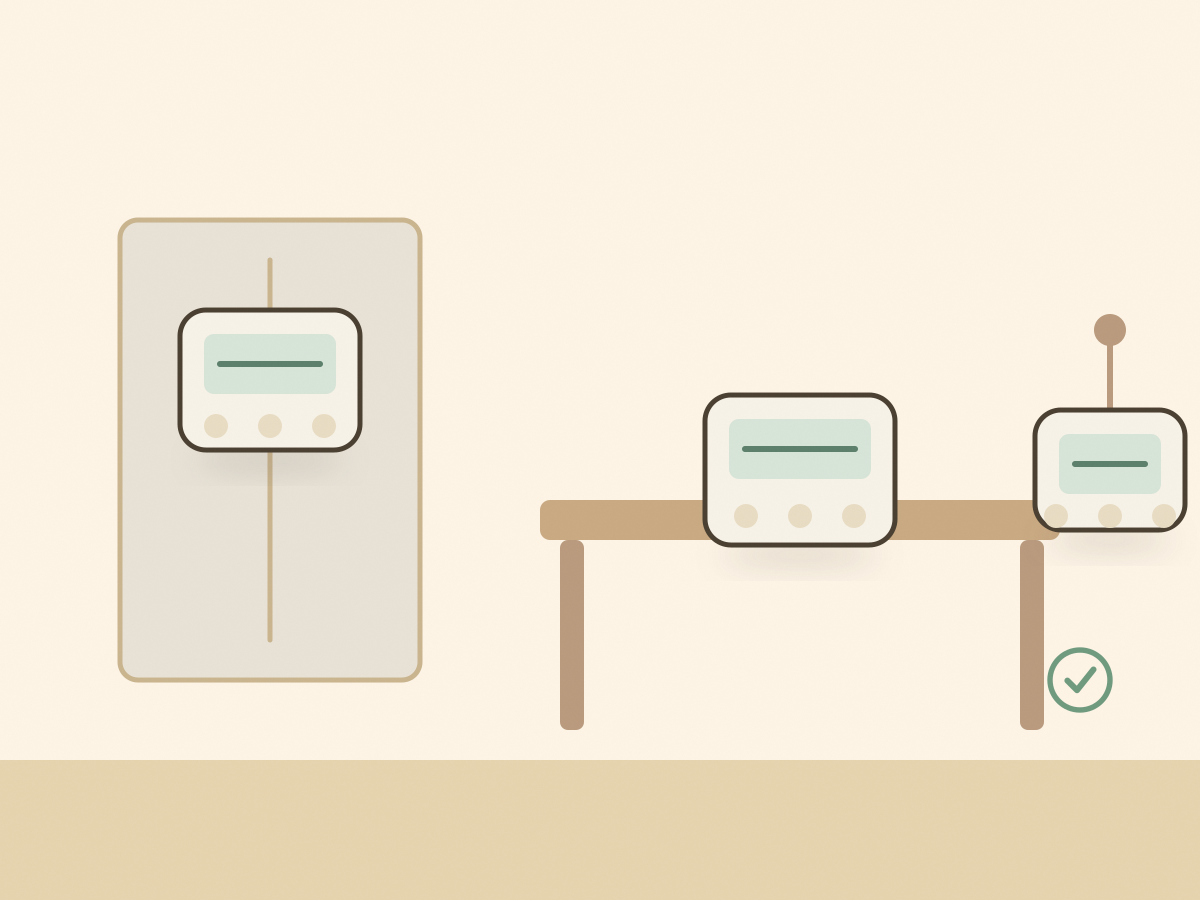
A magnetic back is convenient because it keeps the timer off the bench and at eye level. The listing also includes a fold-out stand and a hook, so you can stand it on a bench, stick it to a fridge or hang it from a wall hook. The magnet strength is not stated, so test it before trusting it above a hard floor.
Do not attach it to a hot oven door, a warm range hood or any surface above its safe operating temperature. Heat can damage the display and the battery. Keep it to the fridge, a dry erase board or a cool metal cabinet, as the listing suggests.
Place it where you can see it from the stove without turning your back on a pan. If you use it for several dishes, keep it central rather than moving it around.
Think about small hands. A magnetic timer at child height can be pressed, dropped or lost. If children use it, choose a spot they can reach but not above a tiled floor.
4. Confirm battery and reset process
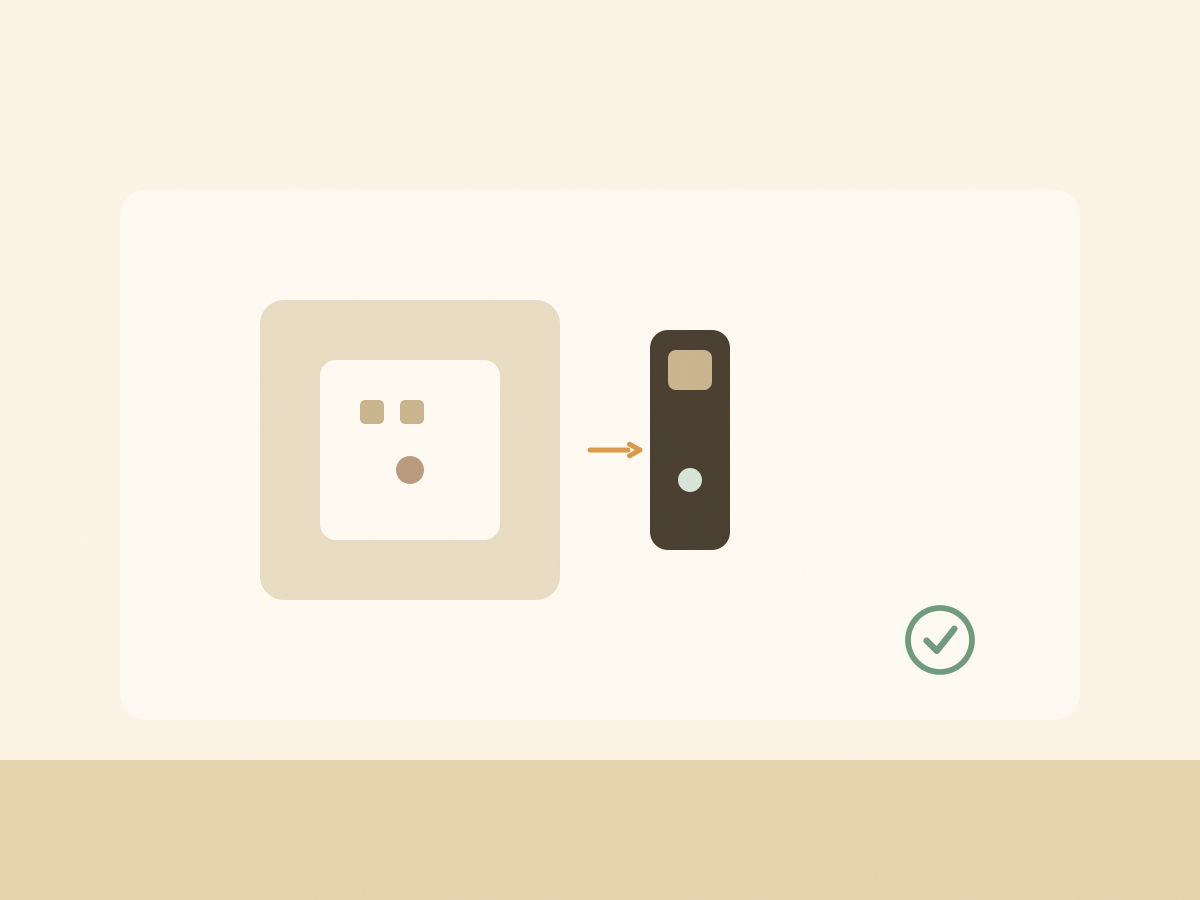
A battery is included, which means the timer should work out of the box. The listing does not state the battery type, so check the compartment before you buy spares. Button cells look similar but differ in voltage and size, and the wrong one can damage the contacts.
When the display dims or the alarm weakens, replace the battery rather than tapping the timer. Open the compartment gently, note the polarity, and dispose of the old cell responsibly. Removing the battery may clear the memory, so expect to re-enter your usual time.
The listing does not describe a reset procedure or an auto-off time. If the buttons stop responding, remove the battery for a minute, then reinstall it. If there is a reset pinhole, use a paper clip and do not push beyond the click.
Keep the timer dry and store it upright. A timer that lives in a drawer with flour and crumbs will eventually suffer sticky buttons. A quick wipe after cooking is easier than cleaning a jammed keypad.
The digital kitchen timer covers the basics well: a readable display, count-up and countdown, memory and three placement options. Confirm the battery type and test the alarm in your own kitchen before you rely on it for a long cook.
Before you buy: a short checklist
- Check that 99 minutes 59 seconds suits your cooking.
- Confirm the timer supports both count-up and countdown.
- Test the alarm from the next room, not just at the bench.
- Check the display in bright light and at an angle.
- Do not assume a backlight or water resistance.
- Ask for the battery type before buying spares.
- Plan a cool, dry spot for the magnet or stand.
- Check the current price, stock and shipping on the listing.
Two common questions
Is a battery included?
Yes. The listing says a battery is included, but it does not state the battery type or size.
Can the timer count upwards?
Yes. The listing describes minute and second count-up as well as countdown, with a setting memory.