

Measure the desk edge before anything else. A clamp-on tray only works if the clamp opens wide enough for your desk top, sits clear of the frame and leaves the sockets reachable. This tray is listed at 34 by 12.5 by 20cm in iron steel, with a no-drill clamp, rubber pads and the option to mount it facing inward or outward. The listing does not publish the clamp’s maximum opening, a tested load limit or the included clips, so confirm those three details before you order.
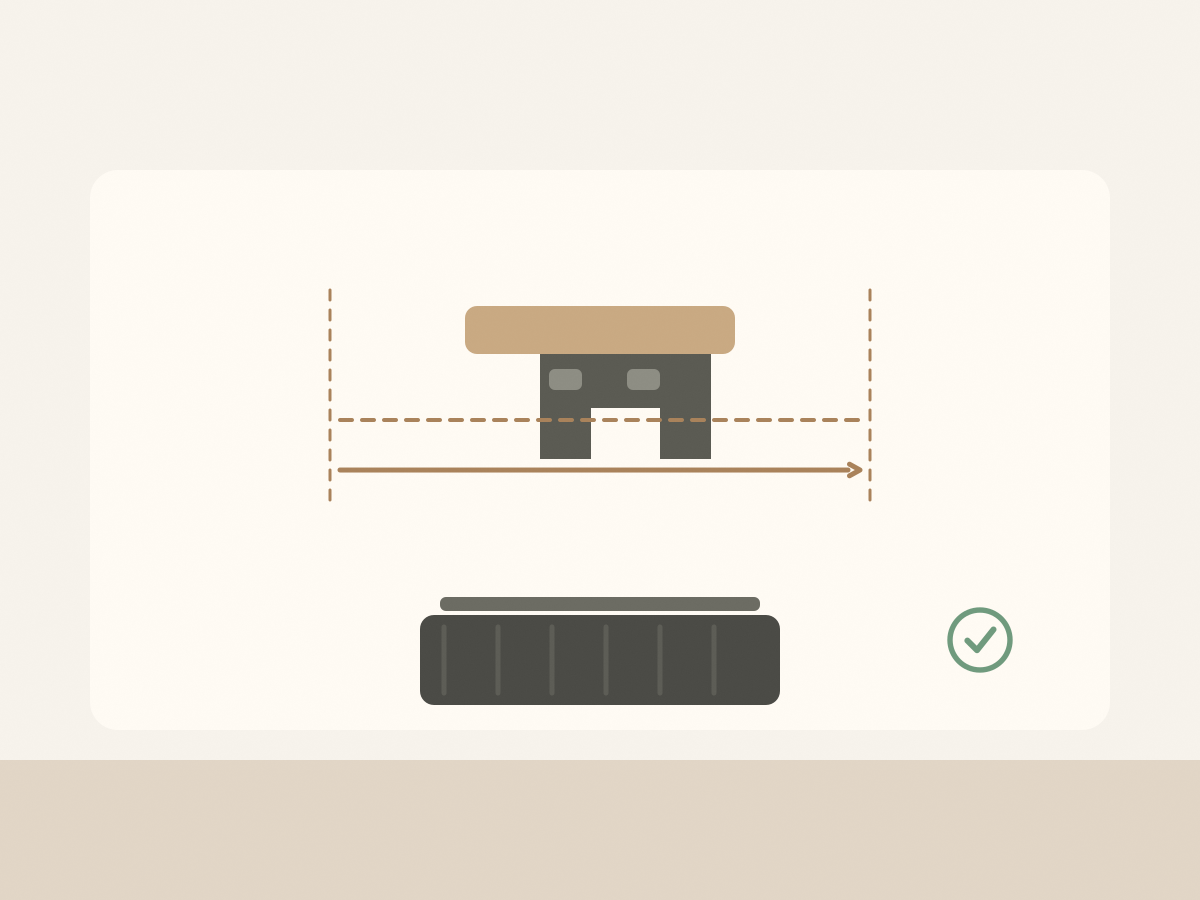
1. Measure desk-edge thickness and clamp clearance
Open the clamp and measure the gap, or ask the seller for the maximum desk thickness. Then measure your desk at the point where the tray will sit. A bevelled or rounded edge can reduce the effective grip, and a desk with a metal frame or a cable channel underneath may not leave room for the clamp.
Check the underside of the desk for crossbars, drawers and adjustable legs. The tray needs a clear run of at least its 34cm length, plus space for the clamp and the cables. If the desk has a deep apron, the tray may sit too far back to reach.
The listing says the tray can be installed facing inward or outward. Inward keeps the tray hidden but can crowd your knees; outward gives more legroom but may be visible from the front. Test the position with the desk in its normal height before tightening anything.
Rubber pads are listed to protect the desk. Check that the pads sit flat on your desk material and that the clamp does not need to be overtightened to stay put. A clamp that marks a soft timber desk is a sign that the load is too high or the pads are too thin.
2. Plan powerboard and charger placement without crowding
A tray is not a sealed box. Put the powerboard in first, then the chargers, and leave space around the powerboard for heat to escape. Do not bury a powerboard under a pile of cables or a laptop power brick that runs hot.
The listing says the tray can hide power cords, sockets and USB hubs. Check the internal height and depth against your powerboard. A wide board with angled plugs may not fit, and a brick charger can occupy the space of several small plugs.
Keep heavy items close to the clamp. A tray is supported at one edge, so a dense power brick at the far end creates more leverage than the same weight near the clamp. If the tray flexes when you press it, redistribute the load or choose a different mounting point.
Think about how you will reach the switches. A powerboard with individual switches is easier to manage than one with a single switch at the end, especially if the tray is deep under the desk. Leave the switch end towards the front or the side you can reach.
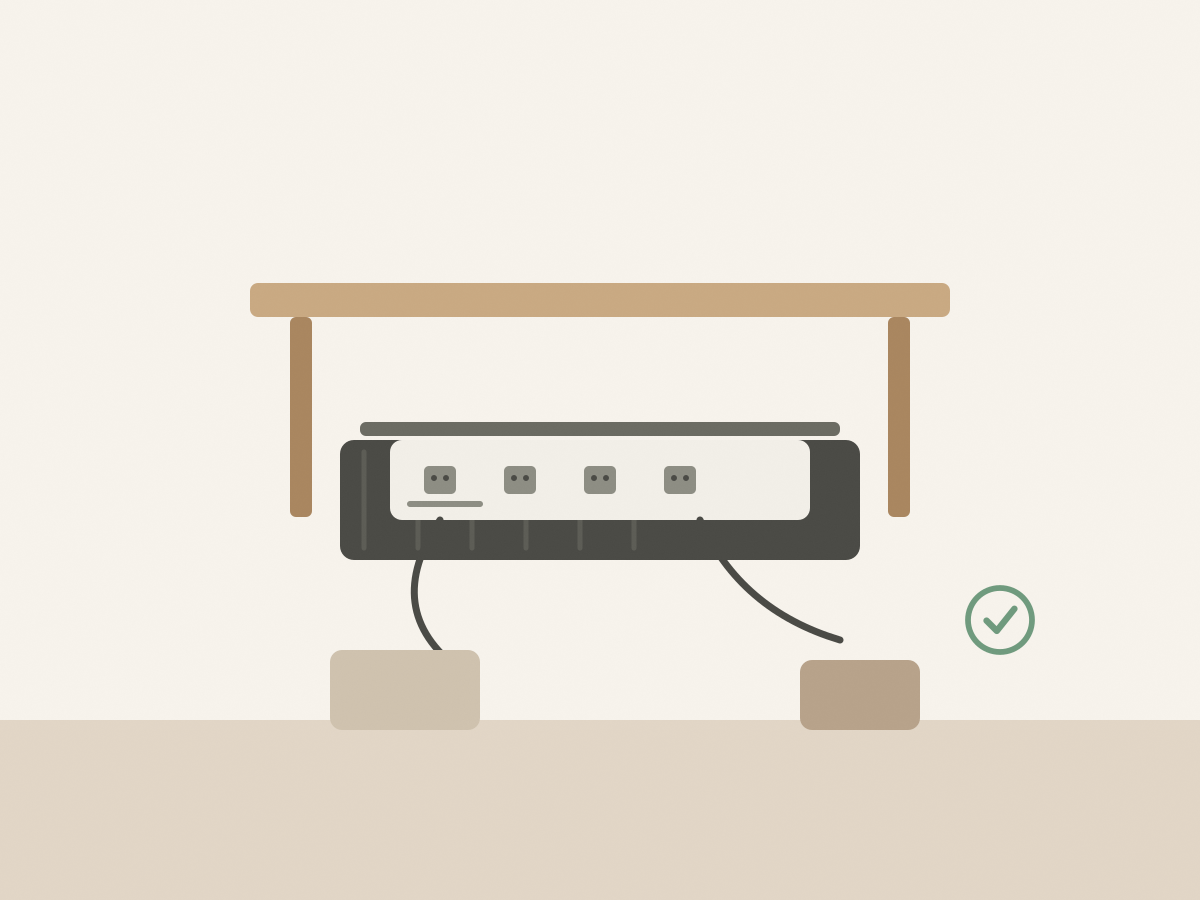
3. Route cables so plugs stay accessible
Leave a service loop at each device. A cable that is pulled tight across the tray will strain the plug and the socket, and it makes future changes harder. Coil the excess loosely and secure it with a tie rather than wrapping it around the powerboard.
Separate power cables from data cables where you can. Mains cables running alongside a USB cable are usually fine at these lengths, but keeping them apart makes the layout easier to trace and reduces the chance of unplugging the wrong lead.
Label the plugs at the powerboard end. A strip of masking tape with a short note is enough. When you need to unplug the monitor, you will not have to follow every cable by hand.
Check that the tray does not block the desk’s height adjustment or a drawer. A tray mounted too close to a drawer front can catch when the drawer opens, and a standing desk may need extra slack in every cable that runs to the tray.
4. Check included clips and ties before installation
The listing describes the tray and the clamp but does not state whether cable clips, ties or screws are included. Ask before you buy, or plan to use your own. Adhesive clips need a clean, dry surface; screw-mounted clips need a surface you are willing to drill.
Do not over-tighten zip ties around a bundle. A tight tie can crush a cable’s insulation or put pressure on a connector. Velcro ties are easier to adjust and reuse, and they are gentler on cables that may need to move.
Test the installation with the desk in use for a week. Check the clamp for movement, the tray for flex and the cables for strain. If the tray slips, add a rubber shim or move it to a stronger part of the desk rather than tightening the clamp beyond reason.
The listing claims the tray can hold up to 11 pounds. Treat that as a seller figure, not a tested limit. Keep the load modest and check the tray regularly, especially if it holds a powerboard and several chargers.
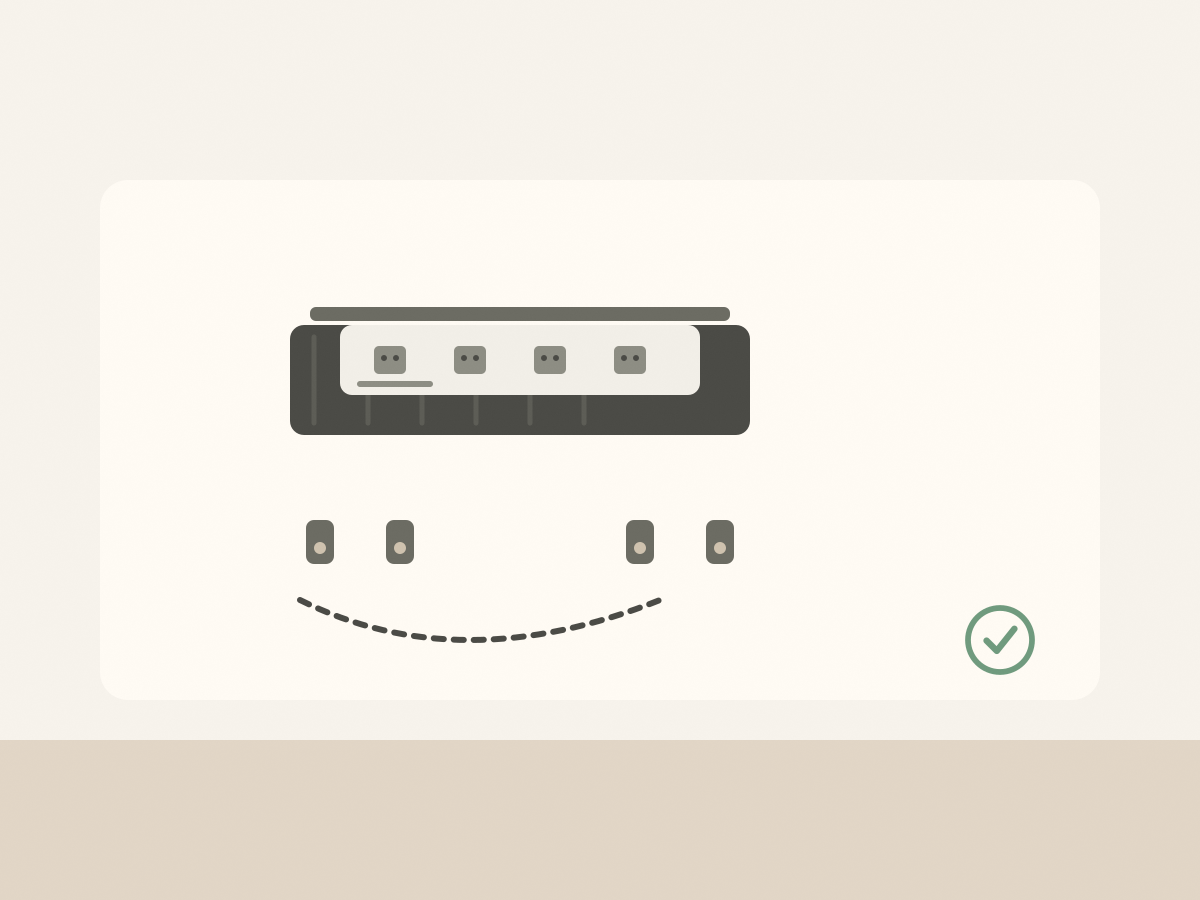
The clamp-on under-desk cable tray is a practical way to tidy a desk without drilling, provided the clamp fits your desk edge. Confirm the opening size, included accessories and load guidance before you install it.
Before you buy: a short checklist
- Measure the desk thickness at the mounting point.
- Ask for the clamp’s maximum opening.
- Check for crossbars, drawers and cable channels underneath.
- Measure your powerboard against the tray’s internal size.
- Confirm whether clips, ties or screws are included.
- Plan the inward or outward orientation for legroom.
- Treat the 11-pound figure as a seller claim.
- Check the current price, stock and shipping on the listing.
Two common questions
Does the tray require drilling into the desk?
No. The listing describes a clamp-on, no-drill installation with rubber pads. You may still need to drill if you add your own cable clips.
What desk thickness can its clamp accept?
The listing does not state a maximum. Measure your desk and ask the seller for the clamp opening before ordering.