
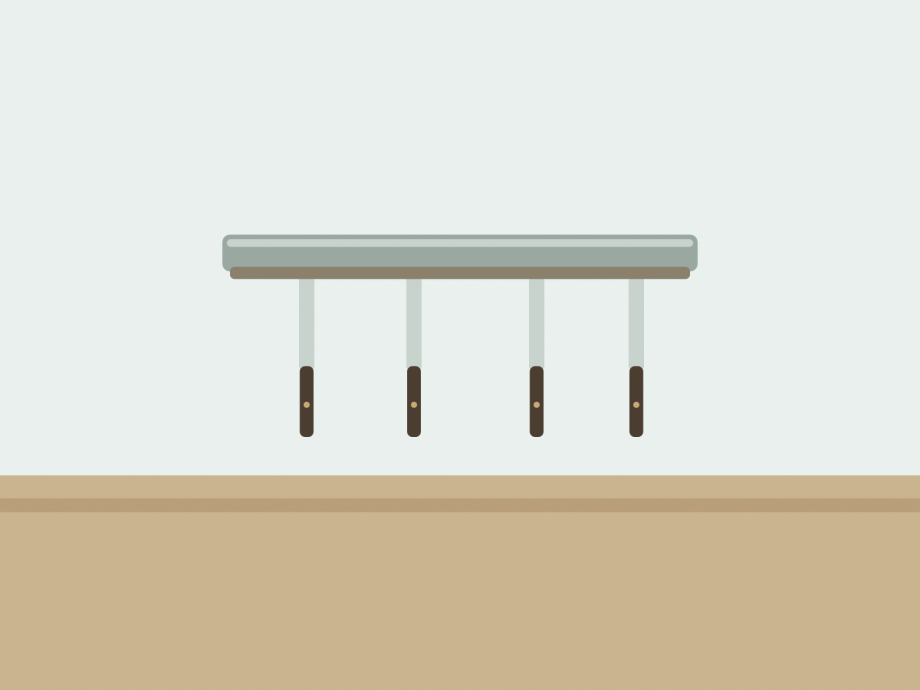
Measure the 40 cm run, choose a surface the adhesive can grip, and keep the strip out of children’s reach before you peel the backing. This listing describes a 40 cm stainless steel strip with neodymium magnets and a self-adhesive backing, installed without drilling. It does not state a load capacity or a cure time, so do not hang a full knife block on it on day one.
1. Measure the 40 cm wall space
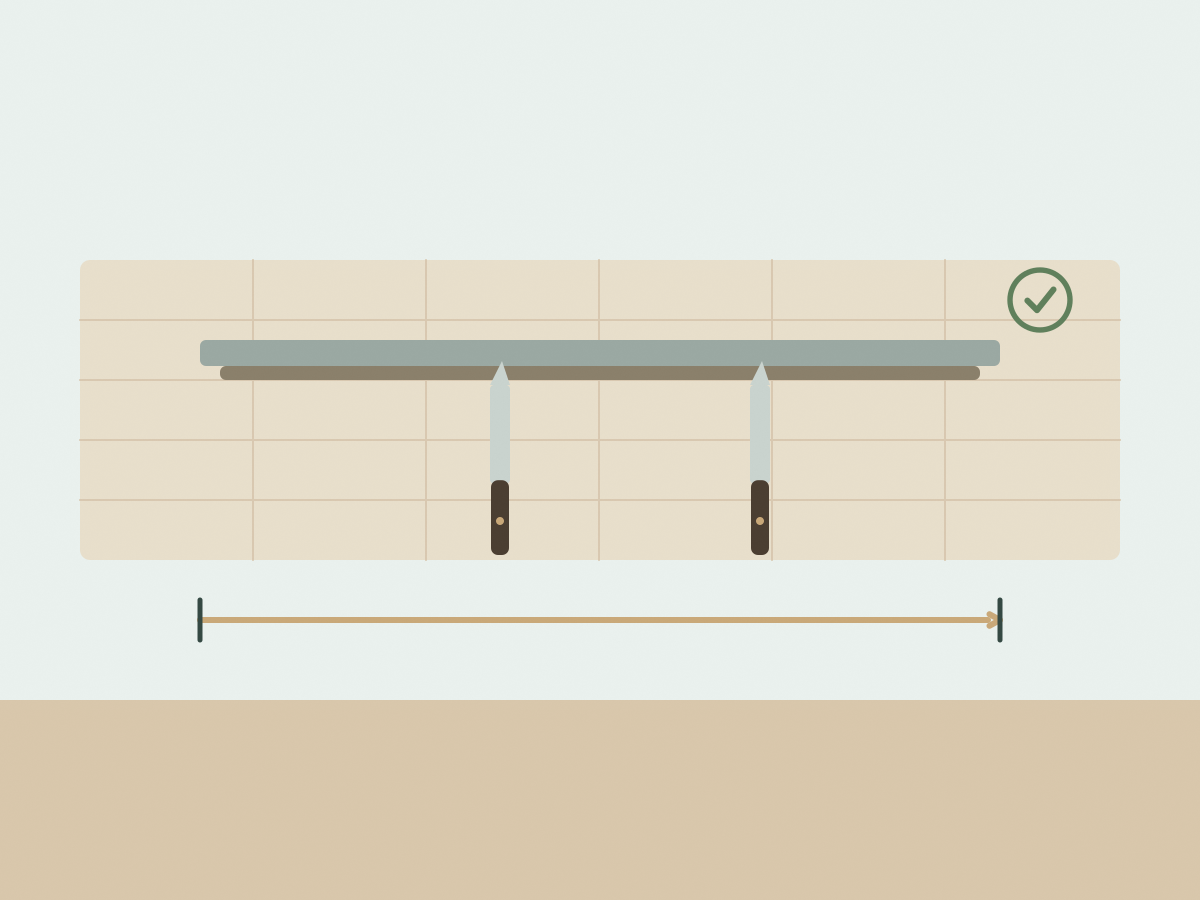
Forty centimetres is the strip length, not the usable knife space. Account for the end caps and for the gap you want between knives. Lay your knives side by side on the bench, measure the total width of the blades at their widest point, and add 2-3 cm between each one so the handles do not knock together.
Choose the height carefully. The strip should sit high enough that children cannot reach the blades, but low enough that you can lift a knife straight up and off without stretching. Avoid mounting it directly above a bench where someone leans or chops, and keep it away from the sink, the stove and any open flame.
Check what is inside the wall before you rely on adhesive. The seller lists plastic, metal, concrete and tiles, but that is a list of examples, not a guarantee for every surface. Painted plasterboard, wallpaper, loose tiles and textured render are different propositions.
Think about the knife handles. A strip mounted too close to a wall corner leaves no room for your knuckles when you lift the largest knife.
2. Check adhesive versus surface type
Adhesive mounting spreads the load across the backing, so surface contact matters more than the strength of the glue alone. Clean the surface with a degreaser suitable for the material, then wipe it dry and let it come to room temperature. Dust, cooking oil and moisture are the usual reasons a strip lets go.
Test a small patch in an inconspicuous spot before committing. Some paints and finishes lift when an adhesive is removed, and the seller’s claim that the strip leaves no marks should not be treated as a guarantee for every wall.
Do not mount the strip on a surface that flexes or crumbles. A hollow door, a loose tile or a rendered wall with flaking paint may hold for a day and fail when the strip is loaded with knives. If you are unsure, ask the seller or use a screw-fixed strip instead.
The listing does not state how long the adhesive should cure before loading. Follow the instruction sheet, and start with one light knife rather than the heaviest one.
3. Plan safe knife spacing and access
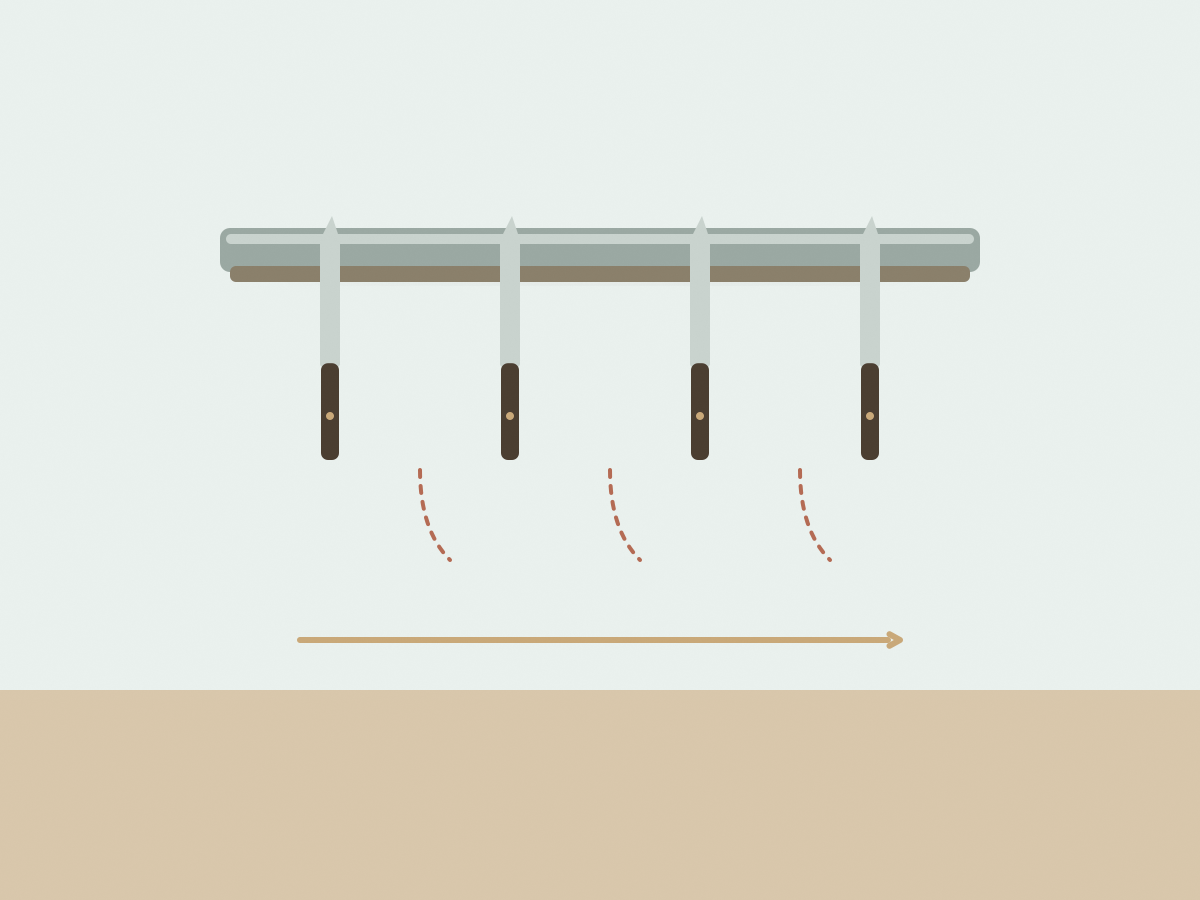
Space the knives so each handle is easy to grab without touching the blade next to it. Point the blades in one direction, usually with the tips down or all to the same side, so you can see the edge and avoid brushing against it.
Do not overload the strip. The listing does not give a weight limit, so treat the number of knives as something to build up gradually. A cleaver and a bread knife are much heavier than a paring knife, and the adhesive sees the total load, not the average.
Keep the strip away from the edge of a doorway, a curtain and a high-traffic path. A knife knocked off a magnetic strip can fall point-first. Mount it where the blades are visible and the handles face outwards.
If there are young children in the house, choose a height they cannot reach even from a chair, and do not store a step stool nearby. Magnets can also affect bank cards, watches and some medical devices, so keep those items away from the strip.
4. Review installation preparation and maintenance
Read the instruction sheet before peeling anything. Mark a level line with a pencil, check the strip position against the longest knife, and only then remove the backing. Once the adhesive touches the wall, repositioning is difficult.
Press along the full length rather than only at the ends, and hold it for the time recommended in the instructions. If the strip is mounted on tiles, press over the grout lines carefully so the backing does not bridge a gap.
Check the strip after the first day and again after a week. If it has shifted, remove it and start again on a better surface rather than adding more adhesive. Do not hang tea towels, utensils or heavy tools on a strip sold for knives.
Wipe the steel with a damp cloth and dry it. Do not use abrasive pads that scratch the finish, and do not spray cleaner into the adhesive edge. Remove the strip slowly when you want to take it down, warming it gently if the instructions allow.
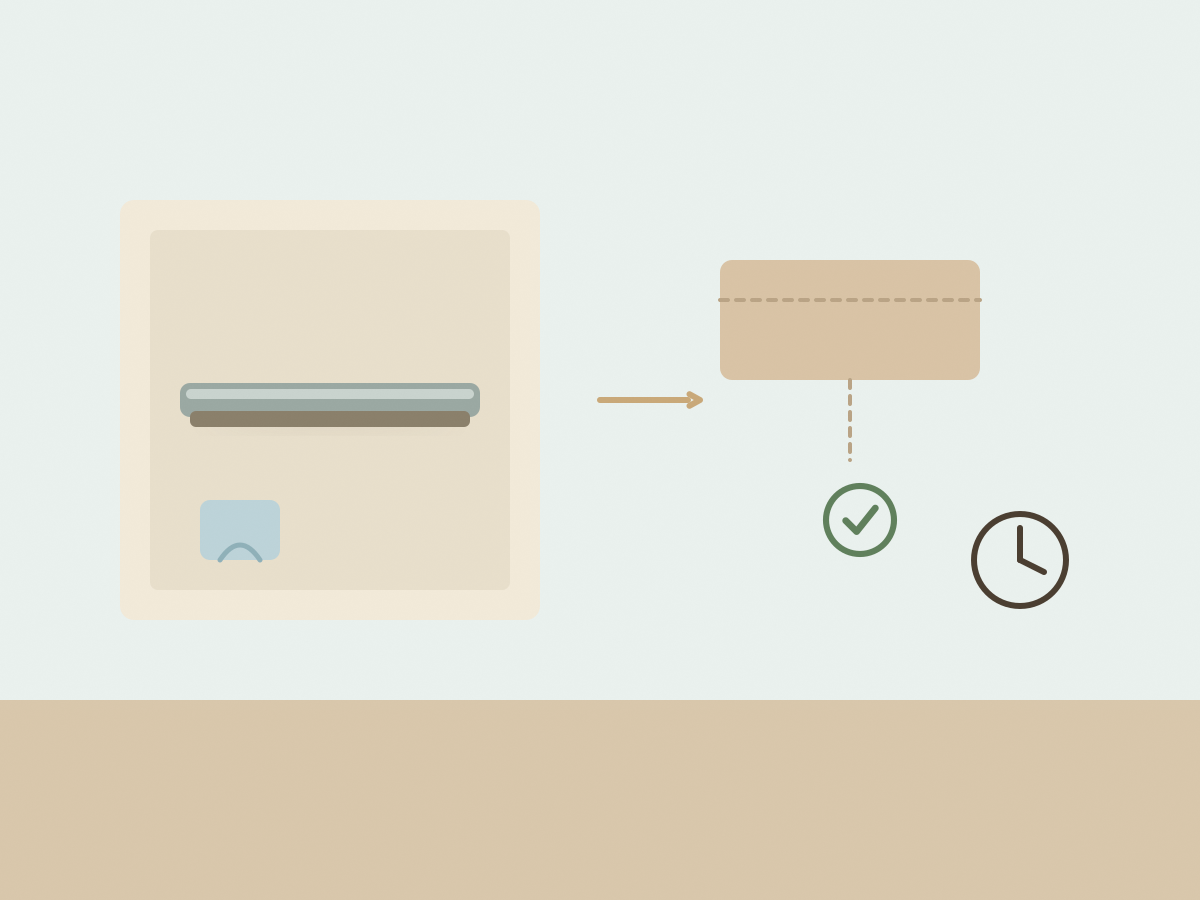
The 40 cm self-adhesive magnetic knife strip can work well on a smooth, sound surface when it is loaded gradually and mounted out of children’s reach. Confirm the surface suitability, cure time and load guidance before hanging your knives.
Before you buy: a short checklist
- Measure the 40 cm strip against your longest knife.
- Allow 2-3 cm between knives and room for your knuckles.
- Check that the wall surface is smooth, sound and grease-free.
- Test the adhesive on a hidden patch first.
- Confirm the cure time before loading the strip.
- Mount it out of children’s reach and away from traffic.
- Plan to add knives gradually rather than all at once.
- Check the current price, stock and shipping on the listing.
Two common questions
Does installation require drilling?
The listing describes a peel-and-stick adhesive backing with no screws or drilling. Follow the supplied instructions for surface preparation.
Will it adhere safely to every wall surface?
No adhesive strip can guarantee that. The seller lists plastic, metal, concrete and tiles, but you should test your surface and avoid loose or flaking finishes.